Rodent Exclusion: How to Keep Rats & Mice Out
Rodent exclusion is the process of finding and repairing the openings that allow rats and mice to enter a building.
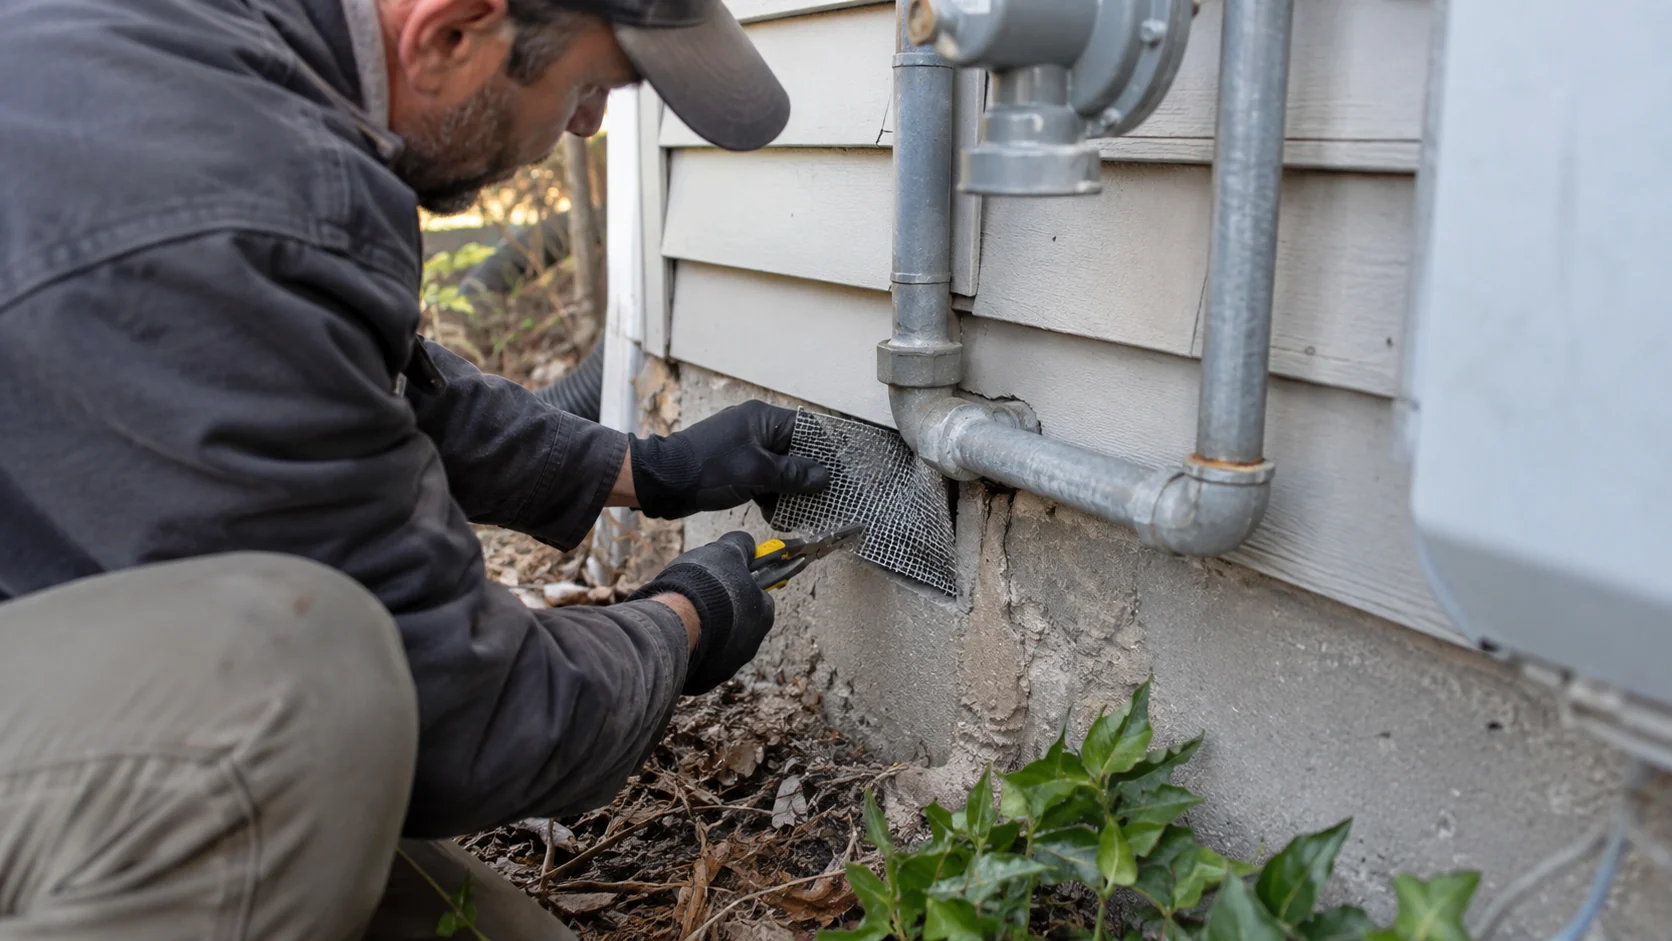
Rodent exclusion is the process of finding and repairing the openings that allow rats and mice to enter a building.
It is one of the most important parts of long-term rodent control.
Traps can remove the animals already inside. Sanitation can reduce food and water. But if the entry route stays open, new rodents can continue entering.
Effective exclusion combines:
- inspection
- species identification
- entry-point mapping
- durable repairs
- correct timing
- follow-up monitoring
The goal is not to seal every visible crack randomly.
The goal is to identify the openings that matter, repair them with appropriate materials, and confirm that rodent activity has stopped.
This guide explains how rodent exclusion works, where rats and mice get in, what materials are commonly used, which mistakes to avoid, and when professional exclusion makes sense.
What Is Rodent Exclusion?
Rodent exclusion means physically blocking or repairing access points that rats and mice use to enter a house or other building.
Common exclusion work may involve:
- doors
- garage doors
- foundations
- utility penetrations
- crawl-space vents
- siding
- soffits
- attic vents
- roofline gaps
- damaged trim
- structural joints
Exclusion is different from trapping.
Trapping removes rodents already inside.
Exclusion reduces future entry.
A complete rodent-control plan often needs both.
For the broader process, see Rodent Control: Methods, Process & What to Expect.
Why Rodent Exclusion Matters
Rats and mice are highly adaptable.
If a building offers:
- food
- water
- warmth
- shelter
- nesting space
rodents may continue trying to enter.
A control program that ignores the building envelope can turn into a repeating cycle:
- rodents enter
- traps remove some animals
- activity declines
- new rodents enter through the same gap
- the problem returns
Exclusion breaks that cycle.
Rodent Exclusion for Mice vs Rats
Mouse and rat exclusion overlap, but they are not identical.
Mouse Exclusion
Mice can use very small openings.
Important mouse entry areas include:
- door corners
- garage-door seals
- utility penetrations
- siding gaps
- foundation joints
- small vent defects
- roofline details
See How Mice Get Into Your House for a detailed mouse-entry guide.
Rat Exclusion
Rats need larger openings but can exploit:
- foundation defects
- crawl-space gaps
- garage-door openings
- utility penetrations
- vents
- damaged soffits
- attic vents
- roofline gaps
See How Rats Get Into Your House for the main rat-entry routes.
Step 1: Confirm Rodent Activity
Before sealing, confirm that rats or mice are actually active.
Look for:
- droppings
- gnaw marks
- tracks
- rub marks
- nesting material
- food damage
- burrows
- sightings
- trap captures
The location of these signs helps narrow the likely route.
For identification help, see Signs of Mice in Your House and Signs of Rats in Your House.
Step 2: Identify Whether You Have Mice or Rats
Species affects exclusion priorities.
Mice are smaller and can use narrower gaps.
Norway rats are strongly associated with:
- foundations
- burrows
- garages
- crawl spaces
- lower-level routes
Roof rats are more strongly associated with:
- attics
- rooflines
- trees
- fences
- elevated access
See Rat vs Mouse: How to Tell the Difference, Norway Rat: Identification, Signs & Behavior, and Roof Rat: Identification, Signs & Behavior.
Step 3: Inspect the Building Exterior
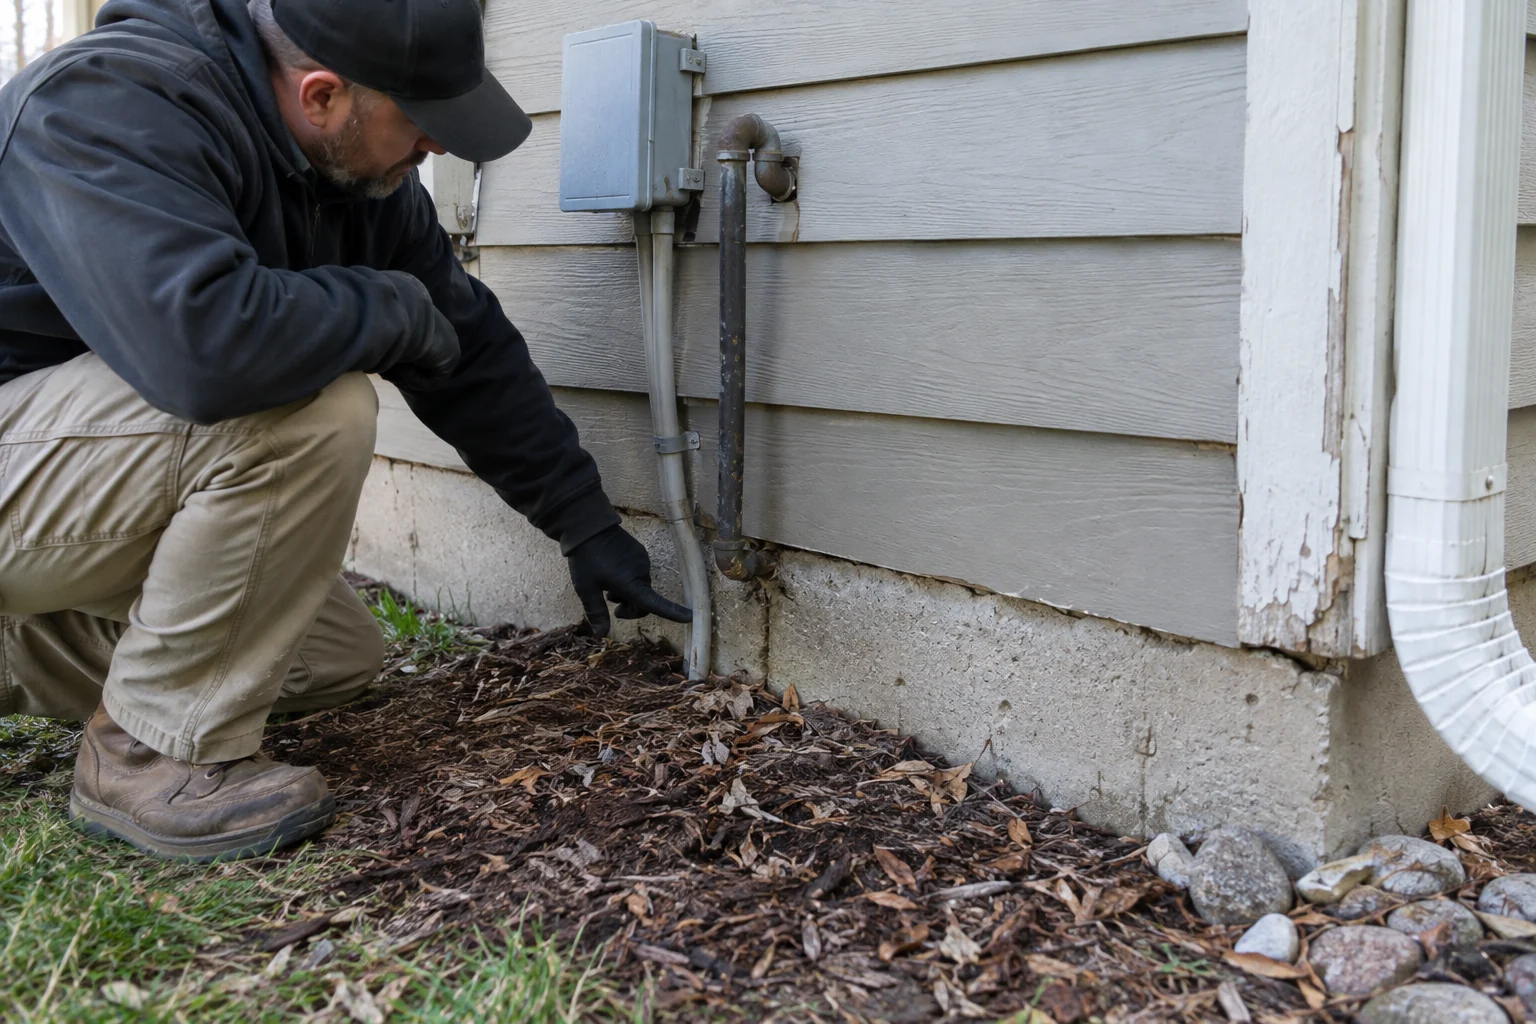
A useful exclusion inspection should follow the whole building perimeter.
Check:
- foundation lines
- doors
- garage doors
- exterior corners
- siding transitions
- utility penetrations
- crawl-space vents
- basement openings
- soffits
- fascia
- attic vents
- roof-wall joints
Do not inspect only the place where you saw a rodent.
The sighting location may be far from the original exterior entry point.
Step 4: Inspect Interior Travel Routes
Inside the home, look for evidence along:
- baseboards
- cabinets
- appliance spaces
- attic framing
- basement walls
- garage walls
- crawl-space routes
- utility lines
Try to connect the indoor route with an exterior wall or structural opening.
That helps you prioritize repairs.
Foundation Gaps
Foundations are important exclusion areas for both mice and rats.
Possible problem areas include:
- cracks
- damaged edges
- utility penetrations
- gaps between materials
- crawl-space openings
- vents
The repair method depends on the size and material.
A small gap around a pipe may need a different repair than a broken masonry edge.
Garage-Door Exclusion
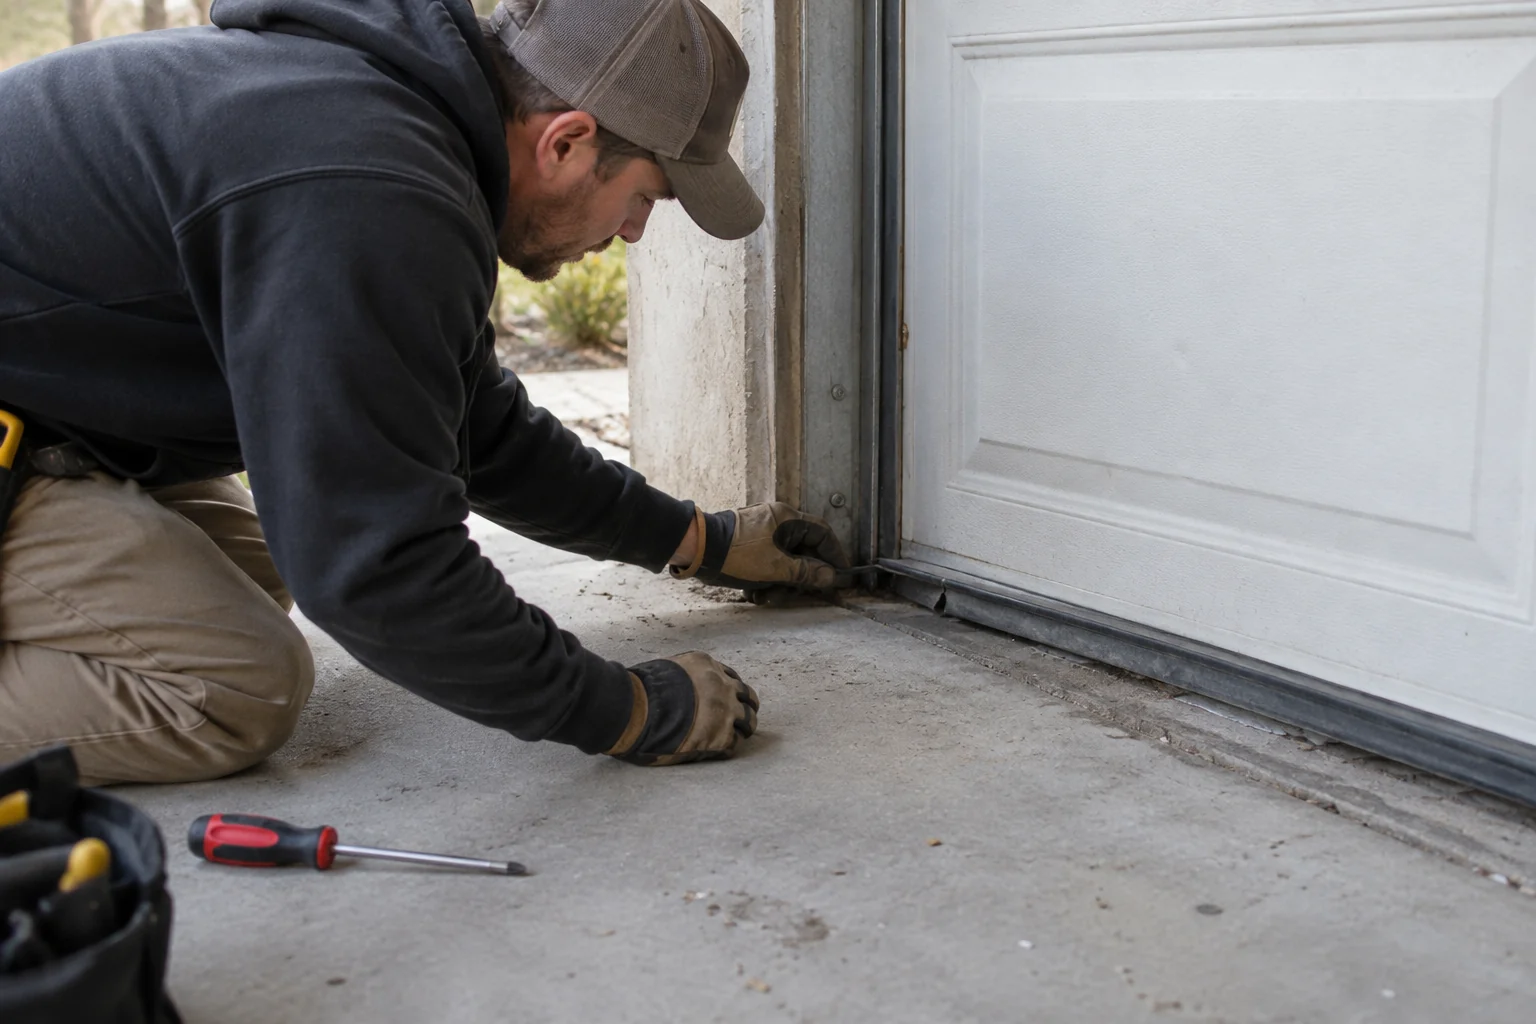
Garage doors are common rodent entry points.
Inspect:
- bottom seals
- side seals
- lower corners
- thresholds
- uneven concrete
- damaged weather stripping
A garage door can appear closed while still leaving a usable opening at one corner.
Repairs should reduce the gap without interfering with normal door operation.
Exterior Door Exclusion
Check exterior doors for:
- worn sweeps
- threshold gaps
- damaged weather stripping
- warped frames
- open lower corners
A durable door sweep and proper seal can reduce entry.
The repair should not prevent safe door operation.
Utility Penetrations
Pipes, cables, HVAC lines, and other services pass through the building envelope.
These penetrations may leave gaps around:
- plumbing
- gas lines
- electrical lines
- cable lines
- refrigerant lines
- condensate lines
Rodents usually use the space around the utility rather than the pipe or wire itself.
Repairs must avoid damaging the utility.
Crawl-Space Exclusion
Crawl spaces can connect directly to wall voids.
Inspect:
- access doors
- foundation vents
- damaged screening
- utility openings
- framing gaps
- foundation defects
Use durable materials appropriate for the opening.
Do not block required ventilation.
Basement Exclusion
Basements can have entry points around:
- windows
- doors
- foundations
- utility penetrations
- vents
- wall-floor joints
Evidence along a basement wall may help reveal the active route.
Siding and Exterior-Wall Gaps
Inspect:
- siding corners
- lower siding edges
- trim transitions
- damaged panels
- wall penetrations
A gap behind siding can lead into framing.
Repairs should match the siding system rather than simply covering the opening with random material.
Brick, Stone, and Masonry Transitions
Mixed exterior materials can create gaps where they meet.
Check:
- brick-to-siding transitions
- stone veneer edges
- trim interfaces
- utility penetrations
- damaged mortar
Some openings may serve drainage or ventilation purposes.
Do not seal them blindly.
Vent Exclusion
Rodents may enter through damaged or poorly screened vents.
Potential areas include:
- crawl-space vents
- attic vents
- foundation vents
- exhaust vents
Repairs should use rodent-resistant screening or suitable covers while preserving airflow.
Do not block a required vent.
Soffit and Fascia Exclusion
Soffits and fascia can provide direct access to attics.
Look for:
- loose panels
- damaged corners
- gaps at roof transitions
- broken trim
- openings around vents
Roofline work can involve fall hazards.
If the repair is difficult to reach safely, professional service may be appropriate.
Attic-Vent Exclusion
Attic vents can become entry points when:
- screens are torn
- edges are loose
- trim is damaged
- surrounding gaps are present
The repair should preserve ventilation while stopping rodents.
Roof rats are especially important to consider in elevated areas.
Roof-Wall Intersections
Where a roof meets a wall, complex joints can create hidden access.
Inspect:
- trim
- flashing transitions
- siding
- vent areas
- attached structures
These areas may be difficult to repair correctly without roofing or carpentry experience.
Decks, Porches, and Attached Structures
Decks and porches can hide entry points.
Inspect behind:
- stairs
- lattice
- skirting
- framing
- stored items
Attached structures can also create climbing routes toward upper levels.
Trees, Fences, and Vines
Vegetation and structures can provide access for roof rats and climbing mice.
Consider:
- branches touching roofs
- vines reaching soffits
- fences connecting to walls
- sheds close to the house
Removing every tree is not necessary.
The goal is to reduce direct access where it clearly supports rodent movement and prevents inspection.
What Materials Work for Rodent Exclusion?
The correct material depends on the opening.
Common durable options include:
- hardware cloth
- metal mesh
- metal flashing
- mortar
- appropriate durable sealant
- door sweeps
- replacement vent screening
- structural repair materials
The repair should be:
- physically secure
- compatible with the building material
- resistant to gnawing
- weather appropriate
- durable over time
Is Steel Wool Good for Rodent Exclusion?
Steel wool is often discussed as a temporary rodent-blocking material.
It may help in some small interior gaps, but by itself it is usually not the best long-term exterior repair.
Potential problems include:
- rust
- moisture exposure
- poor fit
- movement
- lack of structural durability
A durable repair should match the construction detail.
For exterior work, stronger materials are often more appropriate.
Is Expanding Foam Enough?
Foam by itself is not ideal for many exposed rodent entry points.
Rodents may damage soft foam.
Foam can still be useful as part of some properly designed repairs, but the rodent-resistant component should come from durable materials suited to the opening.
Do not rely on foam alone where the gap is actively exposed to rodent gnawing.
Hardware Cloth
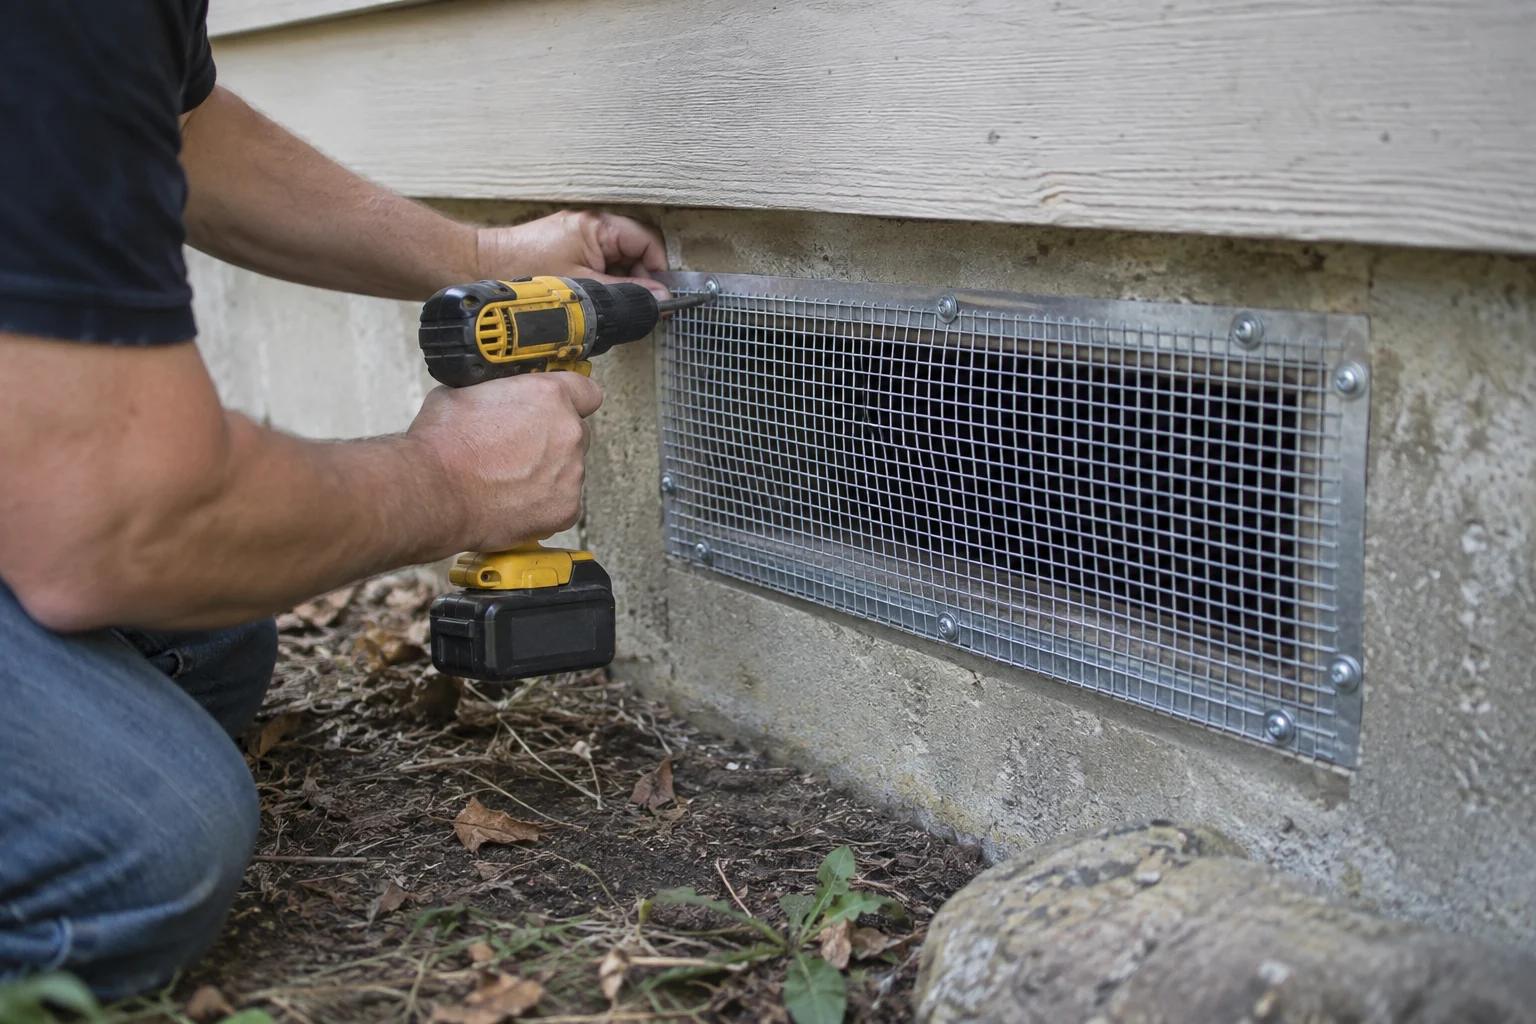
Hardware cloth is useful for many larger openings.
It may be appropriate for:
- crawl-space vents
- larger gaps
- some foundation openings
- some vent repairs
The mesh size, fastening method, and surrounding construction matter.
It should be secured well enough that rodents cannot pull it loose.
Metal Flashing
Metal flashing can work well for:
- damaged lower edges
- larger structural gaps
- areas vulnerable to gnawing
- some door or wall transitions
The repair should be smooth, secure, and compatible with drainage and building movement.
Mortar and Masonry Repair
Mortar or appropriate masonry repair materials may be suitable for:
- damaged concrete
- brick gaps
- masonry openings
- foundation defects
The repair should address the actual structural gap rather than simply covering a surface crack.
Door Sweeps and Weather Stripping
Door sweeps and seals are important for:
- exterior doors
- garage service doors
- utility doors
Use products that fit the door and threshold properly.
A poorly fitted sweep can leave open corners.
When Should You Seal Rodent Entry Points?
Timing matters.
If rodents are already inside, sealing every active opening immediately can trap them in the structure.
That can lead to:
- increased movement
- new gnawing
- rodents entering living areas
- attempts to create another exit
- odor if an animal dies inside
The best timing depends on the route and treatment plan.
Removal and exclusion should be coordinated.
Should You Seal Before or After Trapping?
There is no universal answer for every situation.
A common approach is:
- identify active routes
- begin trapping or removal
- seal secondary openings
- monitor activity
- close the remaining active route when appropriate
- continue monitoring
The exact sequence depends on the property.
The important point is to avoid trapping rodents inside unintentionally.
One-Way Doors and Specialty Exclusion Methods
Some pest-control situations may use one-way exclusion devices.
These methods require correct placement and species understanding.
They are not appropriate for every rodent problem.
Improper use can fail or create new issues.
When exclusion requires specialized devices, professional installation may be appropriate.
How to Know Which Gap Is Active
A possible opening becomes more important when you find:
- fresh droppings
- rub marks
- tracks
- gnawing
- disturbed insulation
- burrows nearby
- repeated sightings
- trap activity close to the route
A hole with no evidence may still need repair.
But active evidence helps prioritize the most important openings first.
Common Rodent-Exclusion Mistakes
Common mistakes include:
- sealing random gaps without tracing activity
- sealing rodents inside
- ignoring the garage
- ignoring the roofline
- using weak materials
- relying only on foam
- blocking required vents
- failing to inspect utilities
- overlooking burrows
- assuming one repaired hole solved the whole problem
- failing to monitor after repairs
Exclusion works best as part of a complete rodent-control process.
Do Not Block Required Ventilation or Drainage
Some exterior openings exist for a reason.
Examples include:
- attic vents
- crawl-space vents
- appliance exhausts
- drainage systems
- weep systems
Do not permanently seal functional openings without understanding their purpose.
Use rodent-resistant methods that preserve the intended airflow or drainage.
Rodent Exclusion and Safety
Some exclusion work can be done safely from ground level.
Other work may involve:
- roofs
- ladders
- tight crawl spaces
- electrical utilities
- gas lines
- contaminated attics
Do not attempt repairs that exceed your skill or safe access.
Professional service is appropriate when the work creates fall, electrical, structural, or contamination hazards.
How Long Does Rodent Exclusion Last?
A durable repair can last for years.
But no house remains permanently rodent-proof without maintenance.
New openings can appear because of:
- weather
- building movement
- damaged seals
- construction changes
- utility work
- wear
- animal damage
Periodic inspection is still necessary.
How Often Should You Inspect for New Gaps?
A practical schedule is to inspect:
- after major weather events
- after construction or repairs
- when new rodent signs appear
- when door seals become worn
- when roof or siding work is completed
Properties with recurring rodent pressure may benefit from more frequent checks.
How to Monitor After Exclusion
After repairs, look for:
- new droppings
- trap activity
- fresh gnawing
- scratching sounds
- reopened gaps
- new burrows
- new sightings
Monitoring helps confirm whether the exclusion worked.
If activity continues, another route may still be open.
Rodent Exclusion in the Garage
Garage exclusion should focus on:
- bottom-door seals
- side seals
- corners
- service doors
- wall penetrations
- attic connections
- stored food
Garages are important because they often connect outdoor access with interior wall systems.
Rodent Exclusion in the Attic
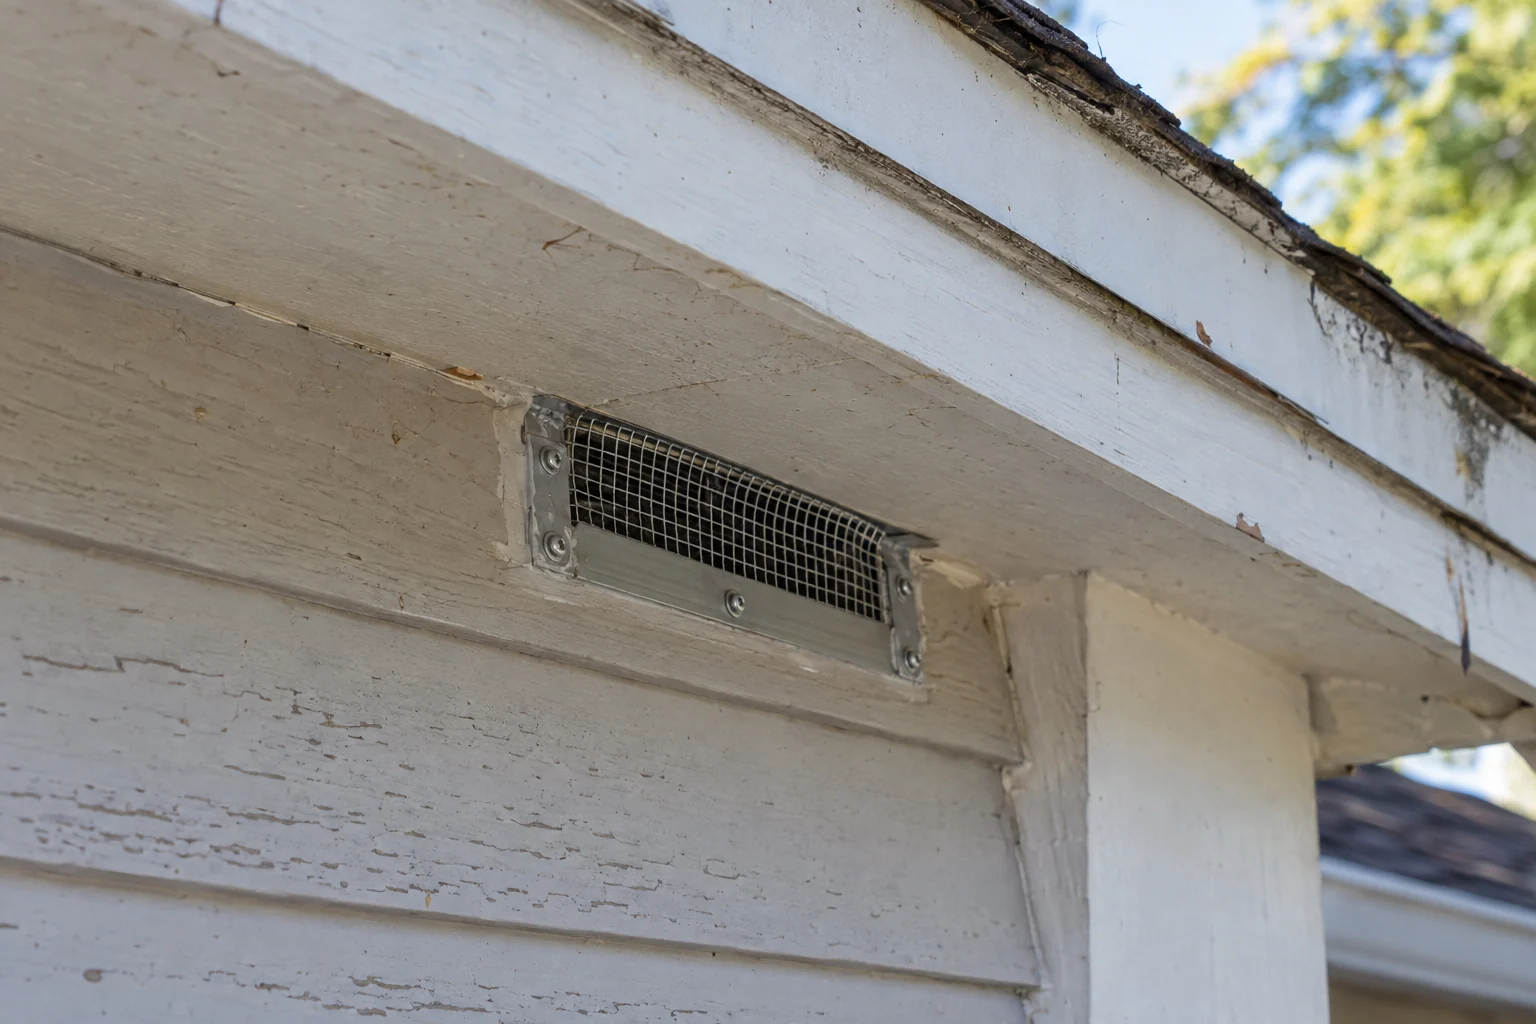
Attic exclusion may involve:
- soffits
- fascia
- roof vents
- gable vents
- roof-wall intersections
- utility penetrations
Attic work can be difficult because entry points may be on the exterior roofline.
See Mice in the Attic: Signs, Damage & Removal and Rats in the Attic: Signs, Damage & Removal.
Rodent Exclusion Around Kitchens
Kitchen exclusion may include:
- plumbing gaps
- dishwasher lines
- cabinet voids
- appliance penetrations
Remember that interior sealing does not replace exterior exclusion.
The mouse may be emerging through a cabinet gap after entering the building somewhere else.
DIY Rodent Exclusion vs Professional Exclusion
DIY may be reasonable when:
- the opening is easy to reach
- the construction detail is simple
- the correct material is obvious
- rodent activity is limited
- safe access is available
Professional exclusion may be more useful when:
- roofline work is required
- crawl spaces are difficult
- many openings are involved
- rats keep returning
- the active route is unclear
- repairs require carpentry, masonry, or specialized work
- contamination is extensive
See Rodent Exterminator: What to Expect & When to Call One for the broader professional process.
How Much Does Rodent Exclusion Cost?
Cost varies widely because exclusion can range from one small repair to whole-home work.
Factors include:
- number of openings
- repair materials
- roof access
- crawl-space access
- garage-door work
- siding repair
- masonry repair
- labor
- warranty
A few small repairs may cost a few hundred dollars.
Large whole-home projects can cost much more.
For related pricing, see Mouse Exterminator Cost and Rat Exterminator Cost.
What Should a Professional Exclusion Quote Include?
A useful quote should identify:
- which openings will be repaired
- which materials will be used
- whether roofline work is included
- whether garage-door work is included
- whether cleanup is separate
- whether follow-up is included
- what the warranty covers
- what is excluded from the warranty
Avoid vague whole-home exclusion quotes that do not explain the actual work.
When Rodent Exclusion Fails
Exclusion may fail when:
- the active opening was missed
- a repair was weak
- a vent was repaired incorrectly
- rodents were sealed inside
- a nearby route remained open
- new damage appeared later
- the building changed after repair
Failure does not always mean the entire approach was wrong.
It usually means the inspection and repair process needs another pass.
The Best Rodent Exclusion Starts With Evidence
The strongest exclusion plan connects:
- rodent signs
- indoor travel routes
- exterior openings
- durable repairs
- follow-up monitoring
Do not begin by sealing every random crack.
Start where the evidence is strongest.
Identify whether the problem involves mice, Norway rats, roof rats, or another rodent.
Trace the route.
Remove rodents already inside.
Repair the openings with suitable rodent-resistant materials.
Then monitor until fresh activity stops.
Continue with our how mice get into a house guide, how rats get into a house guide, rodent control guide, mouse exterminator guide, rat exterminator guide, or signs of mice and signs of rats guides.
For the broader overview, return to Rats & Mice in the Home.